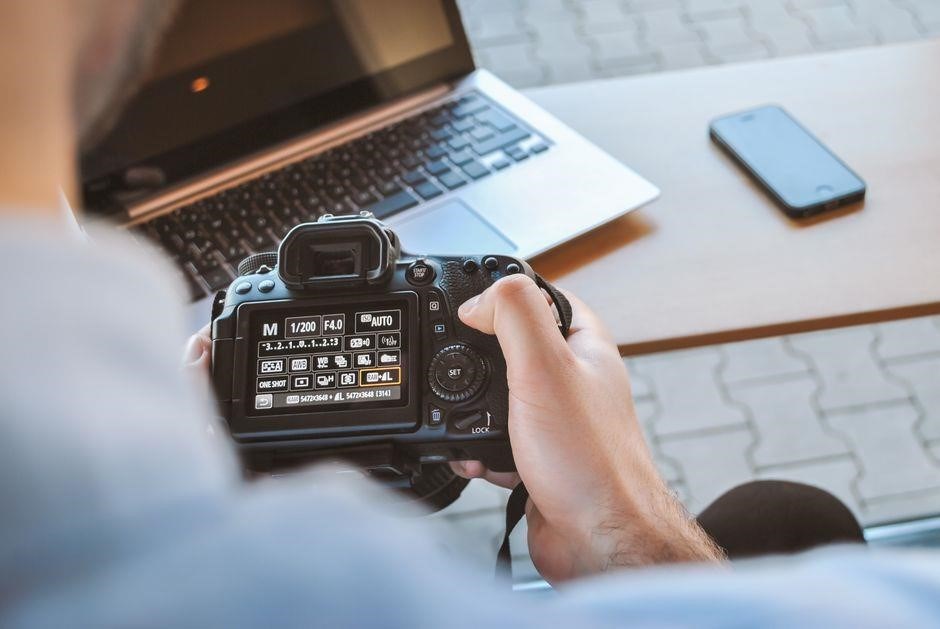
What Is ISO in Photography?
ISO represents a camera sensor’s sensitivity to light, expressed in numbers like 100, 400, 1600. Higher ISO amplifies signal, enabling shooting in low light but introduces digital noise. It balances exposure with shutter speed and aperture, forming the exposure triangle. Use ISO wisely. and noise.
Definition and Core Principles
ISO, short for International Organization for Standardization, is a numerical scale that quantifies a camera sensor’s light sensitivity. In the early days of film, ISO values corresponded to the ISO film speed rating; today, they reflect the electronic amplification of the sensor’s output. The ISO scale is logarithmic: each doubling of the number doubles the sensor’s response to light, allowing photographers to balance exposure with shutter speed and aperture. Core principles include:
- Signal amplification: Raising ISO boosts the electrical signal from each pixel, enabling exposure in dim conditions but also amplifying sensor noise.
- Dynamic range trade‑off: Higher ISO compresses the sensor’s dynamic range, reducing the ability to capture both shadows and highlights simultaneously.
- Noise characteristics: Noise manifests as grainy texture or color speckles; its severity increases with ISO, especially in the high‑frequency detail.
- Exposure triangle integration: ISO is the third arm of the triangle, working in tandem with aperture and shutter speed to achieve correct exposure.
- Digital vs. film legacy: While film ISO is fixed by the emulsion, digital ISO is adjustable, providing flexibility but also requiring careful management to maintain image quality.
Understanding ISO’s role empowers photographers to make informed decisions about exposure settings, balancing light sensitivity against image fidelity.
Advanced cameras now feature dual‑ISO modes, offering a low‑noise base ISO and a higher ISO that preserves dynamic range, further refining the trade‑off between sensitivity and quality.
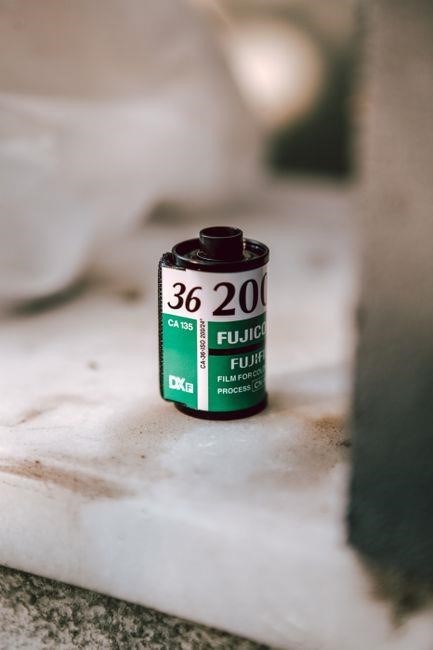
ISO and the Exposure Triangle
ISO is the sensor’s light sensitivity, the third arm of the exposure triangle. It balances with aperture and shutter speed to achieve correct exposure. Adjusting ISO changes how much light the sensor records, affecting noise and dynamic range. for clarity.!
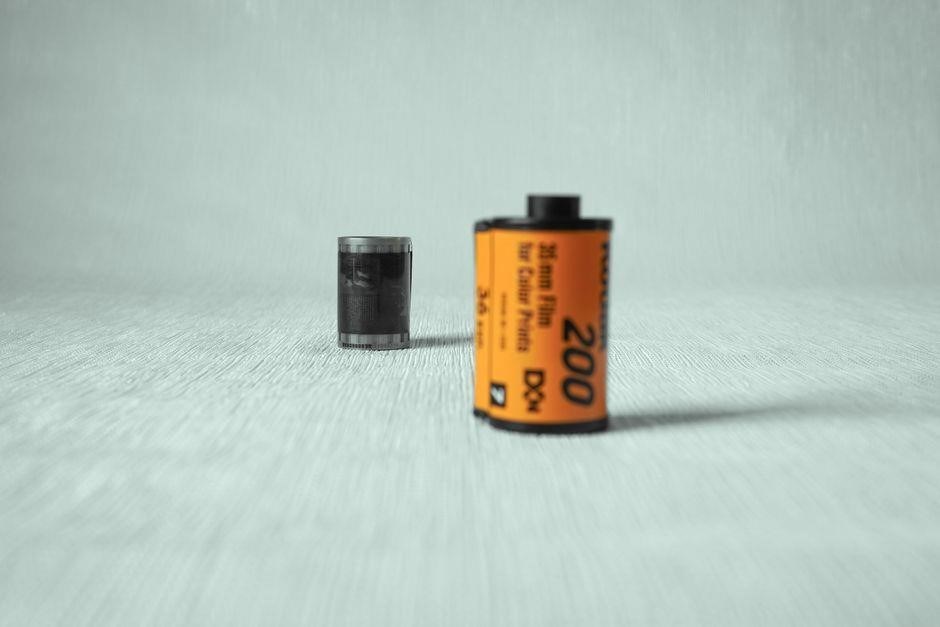
Interaction with Shutter Speed and Aperture
ISO, shutter speed, and aperture together form the exposure triangle that governs how much light reaches the sensor. ISO sets the sensor’s sensitivity; shutter speed determines the duration of light exposure; aperture controls the size of the lens opening. Raising ISO lets you use a faster shutter or a smaller aperture without underexposing, which is essential in low‑light or fast‑action scenes. Lower ISO demands a slower shutter or a wider aperture to achieve the same exposure, but it preserves image detail and reduces digital noise. Photographers typically choose ISO first based on the lighting conditions, then adjust shutter speed to manage motion blur and aperture to set depth of field. In bright daylight, ISO 100–200 is common, allowing wide apertures for shallow depth of field while keeping noise minimal. In dim settings, ISO 800–3200 may be required, and a fast shutter can freeze motion, but the trade‑off is increased grain. Balancing these three elements—ISO, shutter speed, and aperture—ensures correct exposure while meeting creative intentions such as motion capture, depth control, and noise tolerance. When shooting video, ISO adjustments must be subtle to avoid flicker, and many cameras offer a ‘native’ ISO that delivers the cleanest image. Experimenting with ISO in different scenes helps build a mental map of how the sensor behaves under varying light levels. Choosing ISO wisely can also reduce the need for post‑processing corrections and keep size small.
Impact of ISO on Image Quality
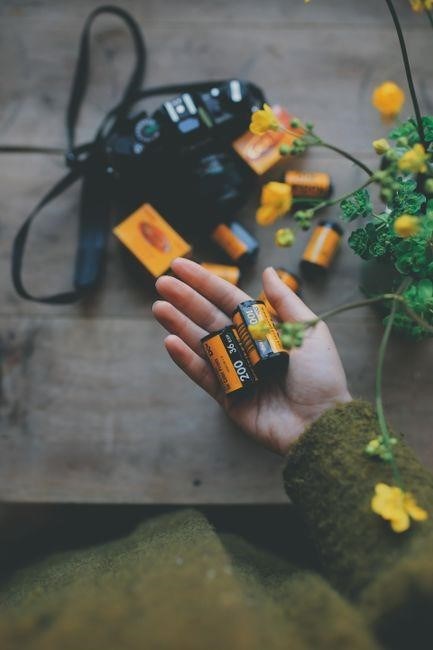
Higher ISO boosts sensor sensitivity, adding light but also digital noise and reducing dynamic range. Lower ISO keeps detail and color fidelity, delivering cleaner images with richer tonal gradation. Selecting ISO balances exposure and clarity and detail!
Noise, Dynamic Range, and Detail
ISO determines how much the sensor amplifies incoming light. At low ISO, amplification is minimal, preserving the sensor’s full well capacity and allowing subtle gradations between shadows and highlights. This results in a wide dynamic range and minimal grain, making it ideal for high‑contrast scenes or when post‑processing requires extensive tonal adjustments.
When ISO is raised, the sensor’s signal chain boosts the pixel output, which can push the sensor’s full well capacity and compress the dynamic range. The increased amplification also magnifies quantization errors, leading to visible noise—especially in uniform areas such as skies or skin tones.
Modern cameras mitigate noise with on‑chip processing, but the fundamental trade‑off remains: higher ISO yields more light capture at the cost of detail fidelity. Photographers often choose the lowest ISO that still achieves acceptable exposure, then compensate with slower shutter speeds or wider apertures to maintain image clarity.
In practice, a well‑exposed image at ISO 100 will exhibit richer detail and smoother gradients, while the same scene shot at ISO 3200 may show noticeable grain and loss of subtle texture. Understanding this balance allows photographers to decide when to push ISO for creative effect or to preserve pristine image quality.
Balancing ISO is a decision that blends technical constraints with artistic intent, ensuring each frame delivers the desired mood .
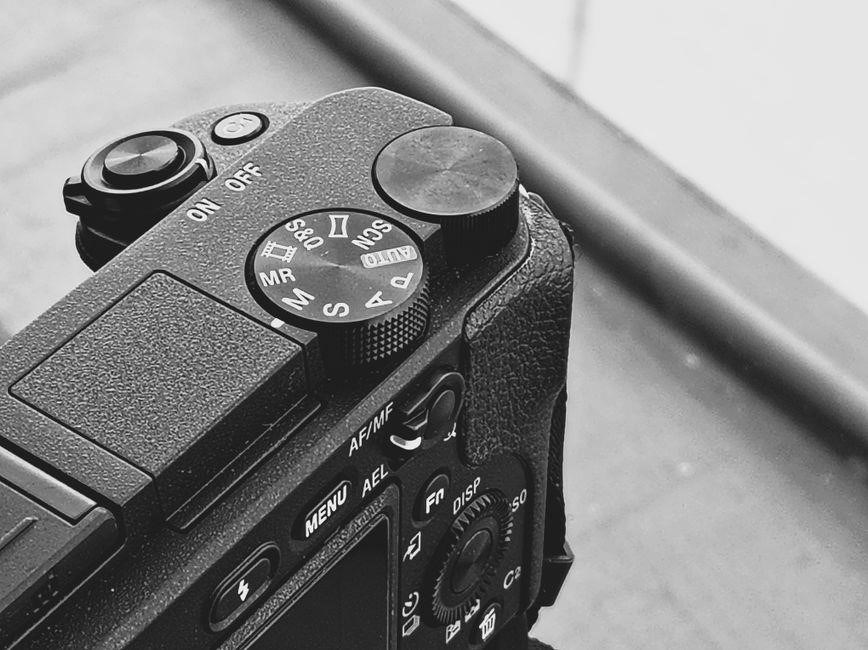
Selecting Appropriate ISO Levels
Start with the lowest ISO that still meets exposure needs. In bright light, ISO 100–200 preserves detail. For indoor or night scenes, raise to 400–800, balancing noise against shutter speed. Use higher ISO only when capture or creative grain is desired!!
Guidelines for Low to High ISO Settings
ISO is a camera’s light sensitivity, expressed as a number. In daylight, start at ISO 100–200 to keep noise low and dynamic range high. When light falls—golden hour, indoor studio, evening events—raise ISO to 400 or 800; most sensors still deliver clean images, and the higher sensitivity allows faster shutter speeds or wider apertures. In very low light—night scenes, concerts, astrophotography—ISO 1600, 3200, or higher is often required. Modern mirrorless and DSLR bodies now handle ISO 3200 with acceptable noise, especially when paired with in‑camera noise reduction or post‑processing. Pushing ISO beyond 6400 usually adds visible grain that may be undesirable unless a gritty look is intended. Always test your camera’s high‑ISO performance in the lighting you expect; sensor quality varies between models. When shooting video, keep ISO as low as possible to preserve a clean signal, because noise is harder to remove in motion footage. Many cameras lock ISO to a base value (e.g., 100 or 200) for video, automatically adjusting shutter speed and aperture. If you must raise ISO for video, increase it in small steps and watch the histogram to avoid clipping highlights or shadows. Additionally, many cameras offer a “high‑ISO boost” mode that applies extra processing to reduce noise at the cost of some detail. Remember, ISO is not a magic fix; it’s one part of the exposure triangle. Use ISO to fine‑tune exposure when shutter speed and aperture are constrained by composition, motion, or depth‑of‑field needs. This balance ensures images across lighting conditions!!
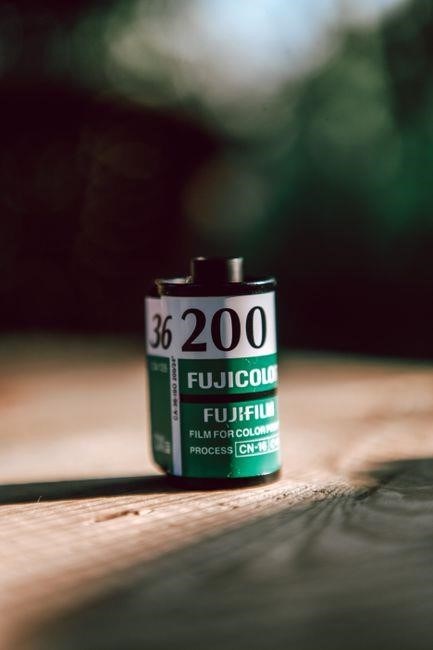
ISO Across Camera Platforms
DSLRs, mirrorless, and compact cameras differ in ISO performance. DSLRs often excel at low ISO, offering clean images, while mirrorless sensors have improved high‑ISO noise handling. Compact devices usually top out at lower ISO, but newer models provide decent low‑light capability. Thanks tech!!!!!!!!!
DSLR vs. Mirrorless vs. Compact Devices
Digital SLRs (DSLRs) traditionally offer superior low‑ISO performance thanks to larger sensors and robust cooling systems that reduce read‑out noise. Their interchangeable‑lens systems also allow photographers to choose optics designed for high‑resolution imaging, further enhancing detail at low ISO settings. Mirrorless cameras, while initially lagging in high‑ISO noise handling, have rapidly closed the gap with newer sensor technologies and advanced on‑chip noise‑reduction algorithms. At ISO 3200–6400, delivering clean images and faster autofocus in low‑light scenes. Compact point‑and‑shoot devices, on the other hand, typically feature smaller sensors and simpler electronics, which limit their maximum ISO range to around 3200–6400. However, recent advancements in sensor design and image‑processing pipelines have enabled some high‑end compact models to maintain acceptable noise levels even at ISO 6400, making them viable for casual low‑light photography. When choosing a platform, consider the intended use: professional studio work often benefits from a DSLR’s high‑resolution, low‑noise output; street and event photography may favor a mirrorless system’s agility and silent shooting; and travel or everyday snapshots can be comfortably handled by a compact camera that balances size, convenience, and sufficient ISO flexibility. Ultimately, the best choice depends on balancing sensor size, processing power, lens availability, and budget while keeping ISO in mind as a key factor in exposure control and image quality. Photographers typically set ISO to the lowest value that still yields an acceptable exposure, then adjust shutter speed or aperture, while some cameras offer auto‑ISO for convenience now.
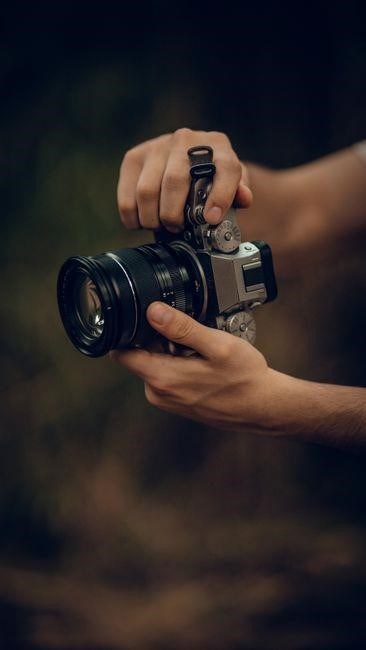
ISO and Post-Processing Techniques
ISO determines sensor noise; higher ISO requires post‑processing to tame grain. Noise‑reduction tools in Lightroom or DxO can smooth detail while preserving edges. However, aggressive reduction can blur textures. Balance ISO choice with editing to keep sharp, natural images. Keep them vivid. and
Noise Reduction and Image Stabilization
ISO levels dictate the amount of sensor noise that appears in an image. When shooting at high ISO, the digital grain becomes more pronounced, especially in shadow areas. Modern post‑processing software offers sophisticated noise‑reduction algorithms that analyze pixel patterns and selectively smooth out random noise while preserving fine detail. Techniques such as frequency‑based filtering, wavelet denoising, and machine‑learning models can reduce grain without blurring edges. However, over‑aggressive noise reduction can lead to a “plastic” look, loss of texture, and ringing artifacts. Therefore, photographers often apply a moderate amount of noise reduction in raw conversion, then fine‑tune in the final edit. Image stabilization, on the other hand, is a hardware or software feature that compensates for camera shake. In‑camera stabilization (optical or sensor‑shift) reduces motion blur, allowing the use of slower shutter speeds without raising ISO. Post‑processing stabilization tools can also align multiple exposures or frames, especially in burst mode, to create a sharper composite. Combining proper ISO selection, in‑camera stabilization, and targeted noise‑reduction yields clean, high‑resolution images even in challenging lighting conditions. Balancing these elements is key to achieving professional‑grade results.
Additional considerations include ISO trade‑off, depth of field, and sensor size noise impact. Mastering ISO yields images in soft light.
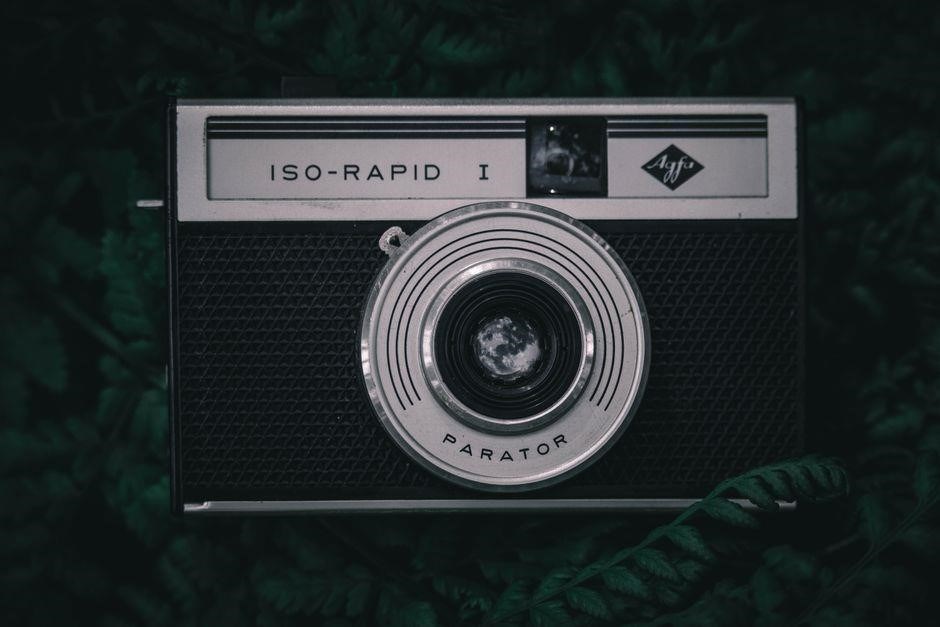
Common ISO Misconceptions
Many believe high ISO always equals bad image quality, but modern sensors handle noise better. Some think ISO is fixed; actually, it can be adjusted in RAW. Others think ISO is only for low light, yet it also affects dynamic range. Understanding these myths saves time. Use balanced ISO settings.
Debunking Popular ISO Myths
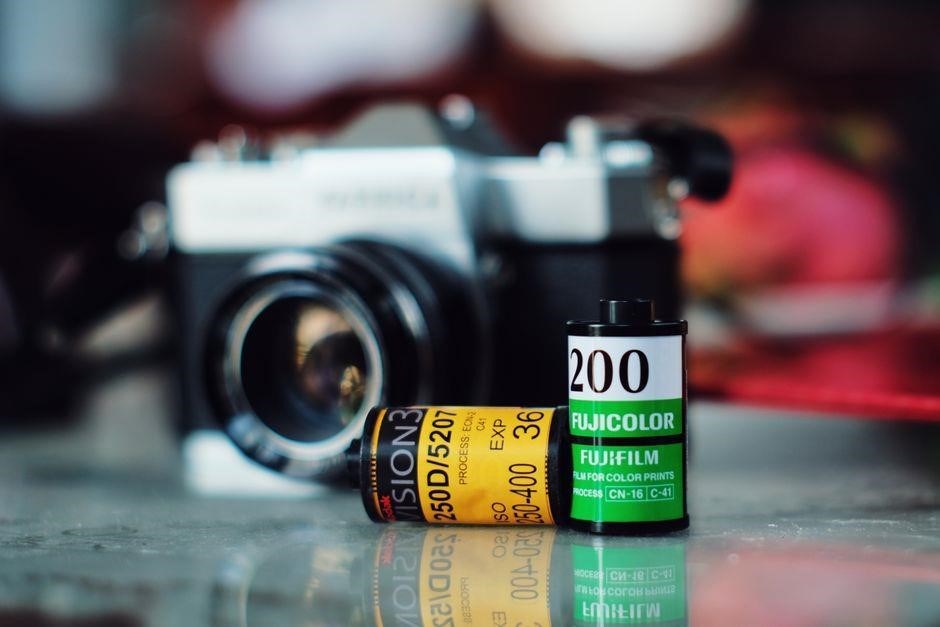
ISO is only for low‑light. It balances exposure with shutter speed and aperture; photographers raise ISO in bright scenes to keep fast shutter or wide aperture for motion blur or depth control.
Higher ISO always equals worse quality. Modern sensors and processing handle noise. A well‑exposed ISO 1600 image can rival ISO 400 on high‑end gear. Additionally, many cameras now include in‑sensor noise reduction that further mitigates grain.
ISO is fixed. Cameras let you double or halve ISO in increments (100, 200, 400, 800). This flexibility adapts to changing light without altering other settings.
All cameras share ISO performance. Sensor size, tech, and firmware all influence noise; A full‑frame at ISO 800 outperforms a crop at the same ISO in detail and dynamic range.
Noise can be fully removed. Noise‑reduction reduces grain but often sacrifices detail and introduces artifacts. Professional workflows often use selective noise reduction on high‑ISO shots to maintain sharpness.
ISO is irrelevant in RAW. RAW preserves dynamic range, but noise remains. A RAW at ISO 3200 still contains more grain than one at ISO 400, affecting the final image.
In practice, the key is to understand ISO’s role and choose the lowest setting that still delivers the correct exposure. This approach keeps noise minimal while preserving detail, regardless of the camera or shooting situation. Always test ISO settings on a test chart before committing to a shoot. Remember that ISO is a tool, not a limitation; use it creatively to achieve the look.


Be the first to reply