
Brother SE700 Embroidery Machine: A Comprehensive Guide
This guide leverages the printed operation manual, quick reference guide, and embroidery design guide, offering clear instructions for every step of your journey.
The Brother SE700 is a popular embroidery machine, bridging the gap between beginner-friendly operation and advanced creative possibilities. This comprehensive guide aims to empower users, from those threading their first needle to seasoned embroidery enthusiasts looking to refine their workflow. Understanding the machine begins with familiarizing yourself with the resources provided – specifically, the printed operation manual, a crucial document for navigating all functionalities.
Alongside the main manual, a quick reference guide offers a condensed overview of essential steps, perfect for on-the-go assistance. The embroidery design guide further enhances the learning experience, providing inspiration and guidance for utilizing the machine’s built-in designs and importing new ones. Mastering these resources is the first step towards unlocking the SE700’s full potential and transforming your creative visions into beautifully stitched realities.
Unboxing and Initial Setup
Begin by carefully unpacking all components, referencing the included inventory list to ensure everything is present. The Brother SE700 arrives with a variety of accessories – feet, bobbins, tools, and, importantly, the manuals. Prioritize locating the printed operation manual, quick reference guide, and embroidery design guide; these are your primary resources.
Initial setup involves connecting the power cord and following the on-screen prompts. The operation manual provides detailed, step-by-step instructions for this process. Take time to familiarize yourself with the machine’s basic layout and controls. Before embarking on your first project, consult the manual for guidance on initial threading and bobbin winding – foundational skills for successful embroidery. A methodical unboxing and setup, guided by the provided documentation, sets the stage for a smooth creative experience.
Included Accessories: A Detailed Inventory
The Brother SE700 package is comprehensive, containing numerous tools to facilitate your embroidery journey. Expect a selection of embroidery feet, designed for various techniques and fabrics. Several bobbins are included, essential for consistent stitching. A set of tools – screwdrivers, tweezers, and a cleaning brush – aids in maintenance and adjustments. Crucially, the package includes the printed operation manual, a quick reference guide, and an embroidery design guide.
The manual details each accessory’s specific function and optimal usage. Carefully inventory all items against the list within the operation manual to confirm completeness. Understanding each accessory’s purpose, as outlined in the documentation, maximizes the machine’s potential and ensures a seamless creative workflow. Proper accessory management, guided by the manual, is key to efficient embroidery.
Understanding the Operation Manual & Quick Reference Guide
The Brother SE700’s printed operation manual is your primary resource, offering detailed explanations of all features and functions. It’s structured for both beginners and experienced users, covering everything from initial setup to advanced techniques. The quick reference guide serves as a concise companion, providing immediate access to frequently used settings and troubleshooting tips. Both documents are essential for maximizing the machine’s capabilities.
Familiarize yourself with the manual’s table of contents and index to quickly locate specific information. The embroidery design guide complements these resources, detailing design formats and editing options. Regularly consulting the manual prevents errors and ensures optimal performance. Understanding these guides unlocks the full potential of your SE700, fostering creativity and efficiency.
Machine Features & Functionality
Mastering the SE700 requires understanding its features, detailed in the operation manual, enabling users to unlock creative workflows and streamline embroidery projects.
Embroidery Area and Capabilities
The Brother SE700 boasts a generous embroidery area, allowing for diverse design possibilities, as thoroughly explained within the operation manual. Understanding the maximum hoop size – reportedly 7.9″ x 11″ – is crucial for planning projects. The manual details how to utilize the full embroidery space efficiently, maximizing design placement and minimizing fabric waste.
Beyond size, the SE700’s capabilities extend to handling various fabric types and thicknesses, with guidance on stabilizer selection found in the accompanying embroidery design guide. The quick reference guide provides a handy overview of optimal settings for different materials. Users can explore intricate designs and lettering, leveraging the machine’s precision and control, all documented within these essential resources. The manual also clarifies limitations, ensuring realistic expectations for project scope.
Built-in Designs and Fonts
The Brother SE700 comes equipped with a substantial library of built-in embroidery designs and fonts, detailed extensively in the operation manual and embroidery design guide. These resources showcase the variety available, ranging from floral motifs to decorative borders and alphabet sets. The manual provides clear instructions on accessing and selecting these pre-programmed options directly from the machine’s interface.
Users can customize these designs using the built-in editing features, as further explained in the documentation. The quick reference guide offers a quick lookup for font styles and design categories. The manual also clarifies licensing restrictions, if any, regarding the use of these pre-loaded assets. Exploring these built-in options is a fantastic starting point for beginners, offering immediate creative possibilities.
Importing Designs: PES, DST, and Other Formats
The Brother SE700’s versatility extends to importing embroidery designs in various formats, a process thoroughly explained within the operation manual. Commonly supported formats include PES, DST, and others, allowing users to utilize designs from diverse sources. The manual details how to transfer these files to the machine via USB, outlining the correct folder structure and file naming conventions for seamless recognition.
Troubleshooting tips for import errors are also included, addressing potential compatibility issues. The quick reference guide provides a handy list of supported file types. It’s crucial to consult the manual regarding design size limitations and potential scaling adjustments needed for optimal embroidery results. Understanding these import procedures unlocks a world of creative possibilities beyond the built-in designs.
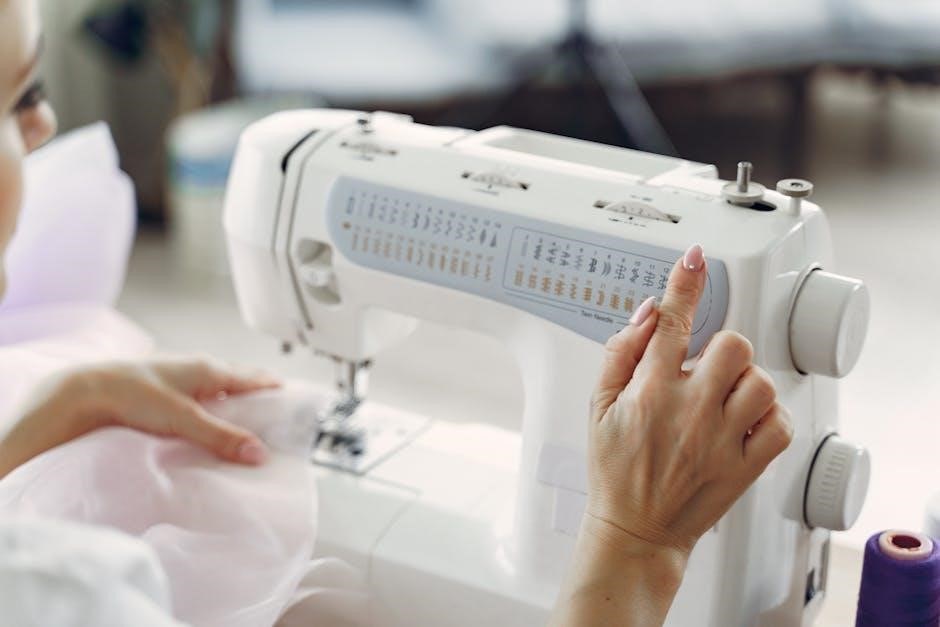
Editing Designs on the Machine
The Brother SE700 empowers users with built-in editing capabilities, detailed extensively in the operation manual. These features allow for customization of imported or pre-loaded designs directly on the machine’s LCD screen. Users can modify design size, rotation, mirroring, and color palettes, tailoring projects to their specific vision. The manual provides step-by-step instructions for utilizing these editing tools effectively.
Advanced editing options, such as combining designs and adding lettering, are also covered. The embroidery design guide offers practical examples and tips for achieving professional-looking results. Mastering these on-machine editing skills minimizes the need for external software, streamlining the creative workflow. Referencing the manual ensures optimal utilization of these powerful features.
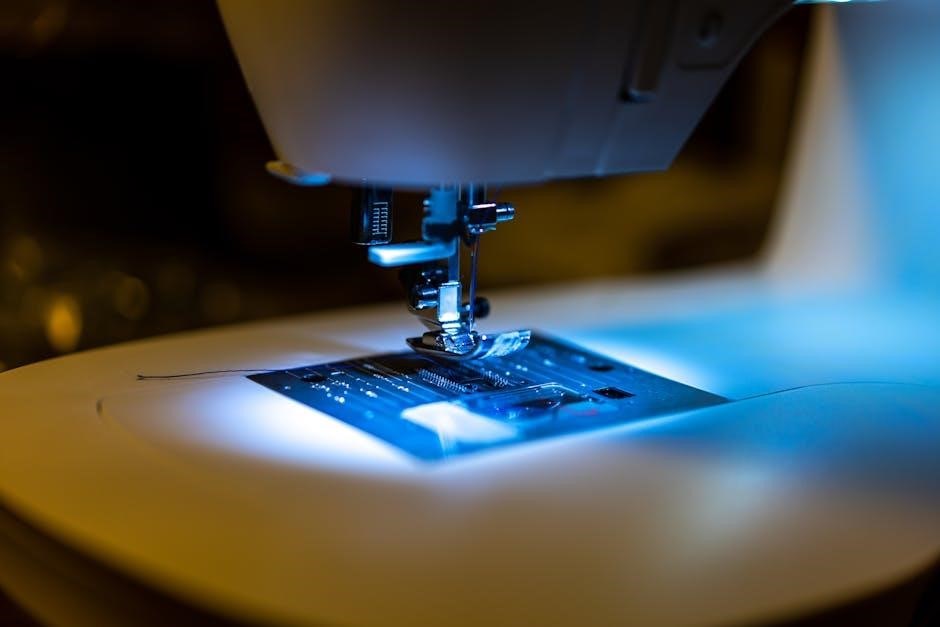
Threading and Bobbin Winding
The operation manual provides detailed diagrams and instructions for both upper and lower threading, alongside clear guidance for efficient bobbin winding procedures.
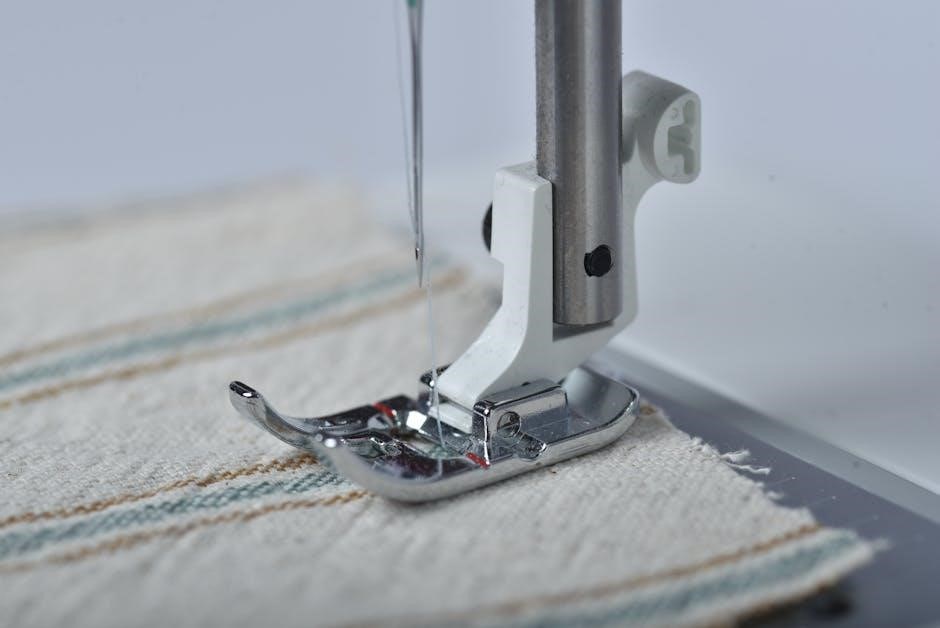
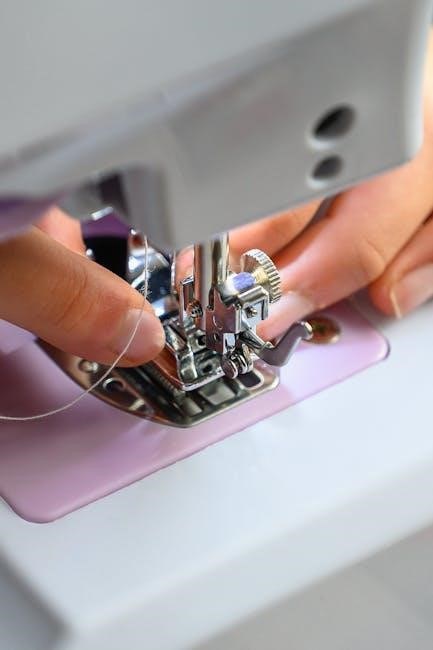
Threading the Upper Thread
Successfully threading the upper thread on your Brother SE700 is crucial for achieving quality embroidery. The operation manual details a numbered threading path, beginning with the spool pin and guiding the thread through several tension discs and the take-up lever.
Pay close attention to ensuring the thread is securely seated in each guide; failure to do so can cause tension issues and skipped stitches. The manual emphasizes following the path precisely, noting specific points where the thread must be firmly inserted.
It also illustrates how to properly guide the thread through the needle eye – a direction crucial for correct stitch formation. Referencing the diagrams within the manual will significantly simplify this process, especially for beginners. Consistent practice, guided by the manual, will build confidence and efficiency.
Threading the Lower Thread & Bobbin Winding
The Brother SE700 manual provides detailed instructions for both winding the bobbin and threading the lower thread. Bobbin winding involves placing the spool on the pin, guiding the thread through designated channels, and engaging the bobbin winder. The manual stresses ensuring the bobbin is correctly positioned before starting.
Threading the lower thread requires opening the bobbin cover and following the illustrated path within the machine. The manual clearly shows how to draw the thread through the tension assembly and into the bobbin case.
Proper tension is vital; the manual explains how to adjust it for optimal stitch quality. Incorrect threading or tension can lead to nesting or looping. Refer to the diagrams for visual guidance, ensuring a smooth and reliable lower thread path.
Tension Adjustment for Optimal Stitch Quality
The Brother SE700 manual emphasizes the importance of correct tension for achieving high-quality embroidery. Tension adjustments impact stitch formation, preventing issues like looping or puckering. The manual details how to locate the tension dial and provides guidance on incremental adjustments.
It explains that upper and lower thread tension work in tandem; imbalances cause defects. Testing is crucial – the manual recommends running test stitches on scrap fabric after each adjustment. Observe the stitch appearance closely.

Too much upper tension pulls the fabric, while too little creates loose stitches. The manual includes troubleshooting tips for common tension-related problems, ensuring consistently beautiful results.
Embroidery Process: Step-by-Step
The Brother SE700 manual guides users through hooping fabric, stabilizer selection, test stitching, and monitoring—essential steps for successful embroidery projects.
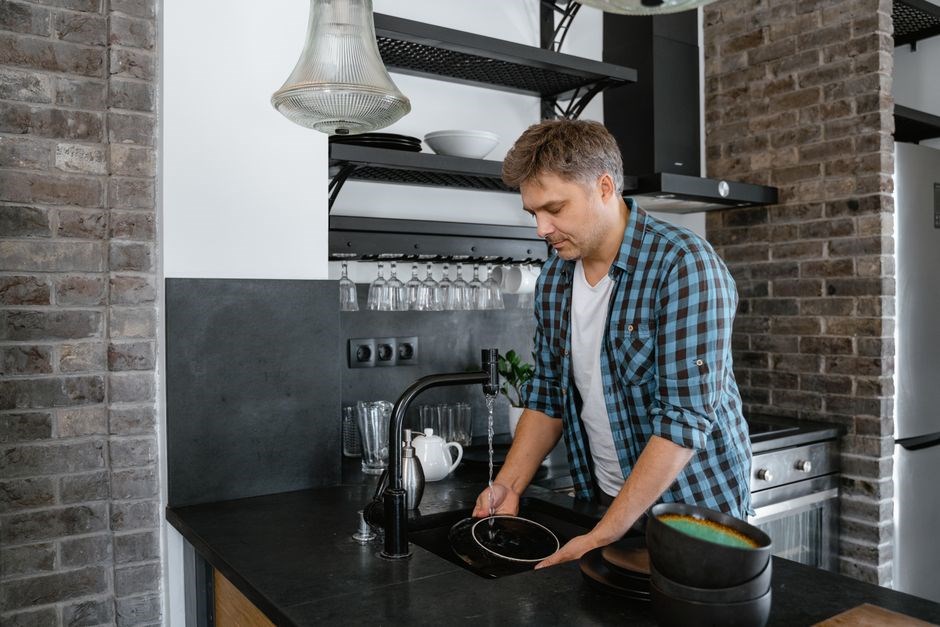
Hooping Fabric Correctly
Hooping fabric correctly is paramount for achieving quality embroidery with your Brother SE700. The SE700 manual emphasizes using the correct hoop size for your design, ensuring it fully encompasses the stitching area. Begin by separating the inner and outer rings of the hoop. Lay your fabric smoothly over the inner ring, then firmly press the outer ring over the fabric and inner ring, securing it tightly.
Avoid stretching or distorting the fabric during this process, as this can lead to puckering or design inaccuracies. The manual details how to properly align the fabric grain with the hoop markings for optimal results. Different fabrics may require different levels of hoop tension; the guide provides recommendations for various materials. A properly hooped fabric will feel taut like a drum, providing a stable base for embroidery.
Stabilizer Selection for Different Fabrics
The Brother SE700 manual dedicates significant attention to stabilizer selection, recognizing its crucial role in embroidery success. Different fabrics demand different stabilizer types to prevent puckering, distortion, and thread breakage. Lightweight, woven fabrics benefit from tear-away stabilizers, easily removed post-embroidery. Knit fabrics require cut-away stabilizers for greater support, preventing stretching during stitching.
The manual details using water-soluble stabilizers for delicate fabrics or when a completely invisible backing is desired. Heat-away stabilizers are also discussed, suitable for fabrics that can withstand gentle ironing. Choosing the correct weight of stabilizer is equally important; heavier fabrics need heavier stabilizers. Always test a small sample before embroidering the entire design to ensure optimal results and prevent damage to your fabric.
Running a Test Stitch
The Brother SE700 manual strongly recommends running a test stitch before embarking on your final embroidery project. This crucial step, often overlooked, verifies design accuracy, thread colors, and stabilizer compatibility. Utilize a scrap piece of the intended fabric, hooped identically to your project material. The manual guides users to select a small, representative section of the design for testing, saving both time and resources.
Carefully observe the stitch quality, ensuring proper tension and registration. Adjust settings as needed based on the test results. This proactive approach minimizes the risk of costly errors and ensures a professional finish. The manual emphasizes that a successful test stitch translates directly into a beautifully embroidered final product, maximizing your creative output.
Monitoring and Adjusting During Embroidery
The Brother SE700 manual highlights the importance of vigilant monitoring during embroidery. Even with meticulous preparation, adjustments may be necessary. Regularly observe the stitching process for thread breaks, skipped stitches, or fabric puckering – indicators of potential issues. The manual advises against leaving the machine unattended for extended periods, especially during longer designs.
Should problems arise, the manual details how to pause the machine safely and address the concern. Minor tension adjustments can often resolve thread issues, while stabilizer adjustments may correct fabric distortion. Remember to refer to the troubleshooting section of the manual for specific error codes and solutions. Proactive monitoring ensures optimal stitch quality and prevents project setbacks.
Troubleshooting Common Issues
The Brother SE700 manual provides detailed solutions for thread breakage, needle breakage, and design distortion, alongside specific error code guidance.
Thread Breakage: Causes and Solutions
Thread breakage on the Brother SE700 can stem from several issues, thoroughly addressed within the operation manual. Incorrect threading – both upper and lower – is a primary culprit; ensure the thread path is clear and properly seated in all guides and tension discs.
Substandard thread quality or using a thread type incompatible with your fabric and stabilizer can also cause breaks; The manual emphasizes using recommended thread weights and materials. Improper tension settings are another frequent cause; the quick reference guide details tension adjustment procedures.
Finally, a dull or damaged needle significantly increases the risk of breakage. Regularly inspect and replace the needle as outlined in the manual. Following these guidelines, detailed in your documentation, will minimize frustrating interruptions and ensure smooth embroidery.
Needle Breakage: Prevention and Repair
Needle breakage with the Brother SE700, detailed in the operation manual, is often preventable. Using the correct needle type and size for your fabric is crucial; the manual provides a comprehensive chart. Forcing the fabric through the needle, or attempting to embroider excessively dense designs at high speeds, significantly increases the risk.
Always ensure the needle is fully inserted and tightened correctly, as outlined in the documentation. A bent or damaged needle should be replaced immediately. The quick reference guide illustrates proper needle insertion.
If a needle does break, power off the machine before attempting removal. Carefully extract the broken piece, and inspect the needle plate for any damage. Refer to the manual for detailed repair instructions and safety precautions.
Design Distortion: Identifying and Correcting Problems
Design distortion on the Brother SE700, addressed in the operation manual, can stem from several sources. Incorrect hooping – uneven fabric tension – is a primary cause. The manual emphasizes the importance of securing the fabric firmly and evenly within the hoop. Stabilizer choice also plays a vital role; insufficient stabilizer leads to puckering and distortion, while excessive stabilizer can be difficult to remove.
Check thread tension; imbalances can pull the design off-course. The quick reference guide offers guidance on tension adjustments. Digitization errors within the design file itself can also contribute.
If distortion occurs, stop the machine, re-hoop the fabric, and adjust stabilizer or tension. The manual details troubleshooting steps for common distortion patterns.
Advanced Techniques & Resources
The manual encourages exploring built-in editing features and online embroidery design resources for expanded creativity, alongside product registration at brother-usa.com.
Utilizing the Built-in Editing Features
The Brother SE700 isn’t just about running pre-designed patterns; it empowers users to personalize and modify designs directly on the machine. The operation manual details how to access and utilize these features, allowing for significant creative control. You can mirror designs, rotate them to different angles, and even combine multiple elements to create truly unique embroidery projects.
Explore scaling options to adjust the size of your designs, ensuring they fit perfectly within your hoop. The machine’s editing capabilities also extend to text, enabling you to customize fonts, sizes, and arrangements. Mastering these built-in tools, as explained in the embroidery design guide, unlocks a world of possibilities, transforming simple designs into personalized masterpieces. Don’t hesitate to experiment and leverage the machine’s full potential!
Exploring Online Embroidery Design Resources
Beyond the built-in designs, a vast universe of embroidery patterns awaits online. The Brother SE700 supports various file formats – PES, DST, and others – opening doors to countless resources. Websites offer both free and premium designs, catering to every skill level and aesthetic preference. Remember to verify file compatibility before downloading, referencing the operation manual for supported formats.
Numerous online communities and forums dedicated to machine embroidery provide inspiration, tutorials, and troubleshooting advice. These platforms are invaluable for learning new techniques and connecting with fellow enthusiasts. Explore sites like Etsy and dedicated embroidery design stores for unique, professionally created patterns. Expanding your design library enhances your creative possibilities with the SE700.
Product Registration and Support (brother-usa.com)
Registering your Brother SE700 at brother-usa.com is crucial for accessing exclusive benefits, including extended warranties and priority support. The website serves as a comprehensive resource hub, offering downloadable digital manuals and frequently asked questions (FAQs) – ID: faqh00100624_020, dated 04/18/2024.
Brother’s online support portal provides access to tutorial videos demonstrating basic operations and advanced functions. These videos, streamed from YouTube, offer visual guidance supplementing the printed operation manual. Should you encounter issues, the “Contact Us” section facilitates direct communication with Brother’s support team. Proper registration ensures you receive timely updates and assistance, maximizing your embroidery experience.

Be the first to reply